How to Start Your Own Mushroom Grow
Whether you’re looking to grow mushrooms for personal use, as a side hustle, or to launch a full-scale mushroom farm, the process can be incredibly rewarding — and profitable. Mushrooms are in high demand for their culinary, nutritional, and medicinal value, making this a great opportunity for beginners and seasoned growers alike.
In this guide, we’ll walk you through all the steps needed to start your mushroom growing operation — whether it’s in your kitchen, garage, or a warehouse.
1. Decide on Your Mushroom Type
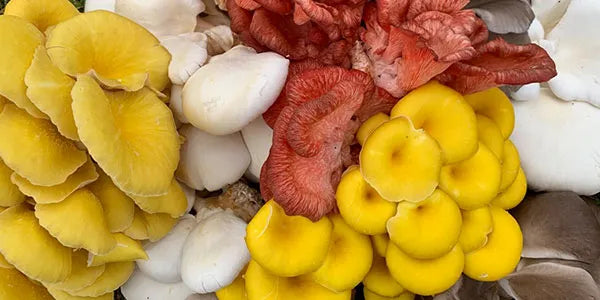
The first step is choosing what type of mushrooms you want to grow. Different mushrooms have different growth requirements, timelines, and market values.
Popular beginner-friendly varieties include:
Oyster mushrooms – Fast-growing and versatile.
Lion’s Mane – Sought after for its unique texture and health benefits.
Shiitake – Rich flavor, great for gourmet markets.
Button or Portobello – Well-known and widely consumed.
Tip: Research your local demand and pricing before committing.
2. Choose Your Growing Location
You’ll need to decide between home-scale and commercial-scale growing.
At Home: Spare rooms, basements, garages, or small grow tents work well.
Warehouse or Commercial Space: Allows for higher volume and climate-controlled environments.
Mushrooms thrive in cool, dark, humid spaces with good air circulation.
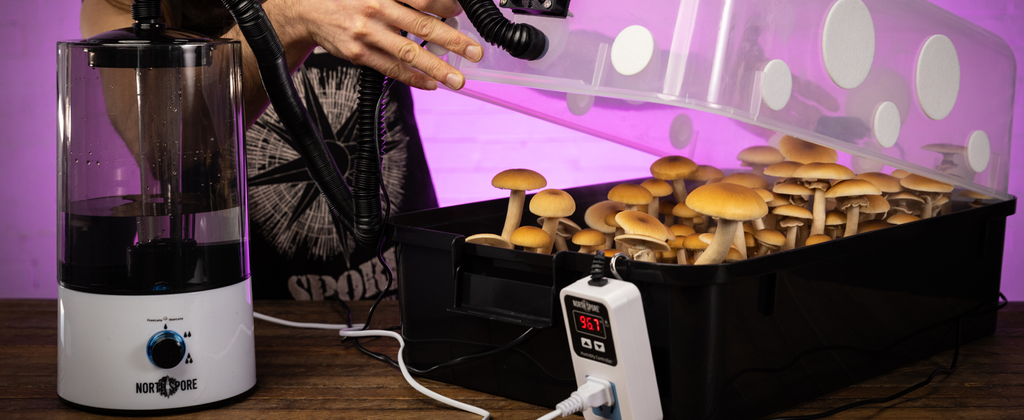
3. Gather Your Equipment and Supplies
The essentials for starting include:
Spawn: This is the mushroom “seed” (mycelium on a carrier).
Substrate: The material mushrooms grow on (e.g., straw, sawdust, coffee grounds).
Containers/Bags: Filter bags, buckets, or trays.
Humidity Control: Misting bottles for home setups, or humidifiers/misters for
warehouses.
Shelving or Racks: For space efficiency.
Lighting: Mushrooms don’t need intense light, but a little indirect light helps trigger fruiting.
4. Prepare the Substrate
Your substrate must be pasteurized or sterilized to kill unwanted bacteria and mold. Methods include:
Boiling or steaming for home growers.
Autoclaves or steam sterilizers for commercial setups.
Once cooled, mix in your spawn.
5. Inoculation
This is when you add the mushroom spawn to your prepared substrate.
Work in a clean environment to avoid contamination.
Distribute spawn evenly for consistent growth.
6. Incubation Phase
Place the inoculated substrate in a warm, dark area. This is where the mycelium will spread through the substrate.
Temperature: Usually between 65–75°F (varies by mushroom type).
Duration: 2–4 weeks for most varieties.
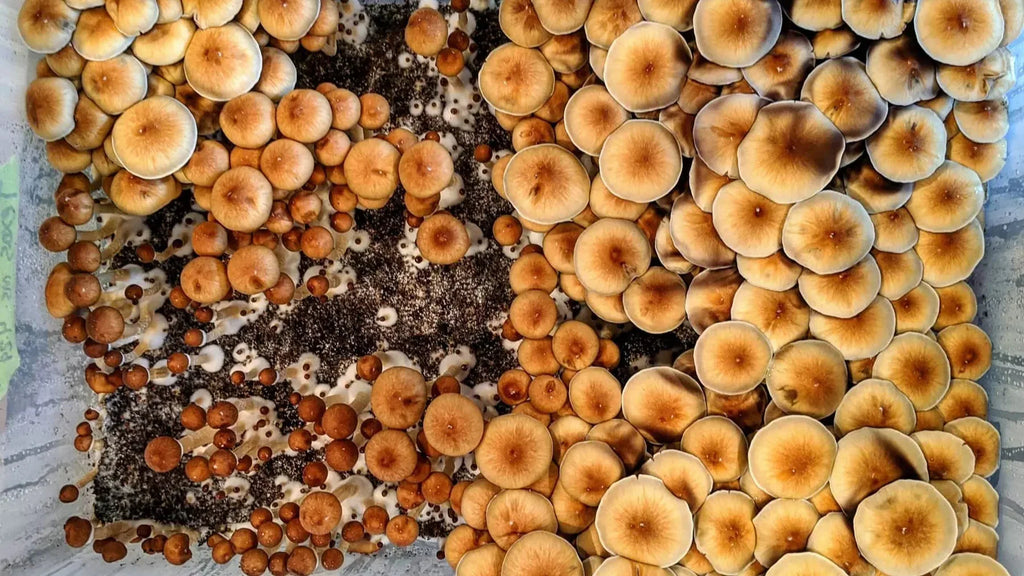
7. Fruiting Conditions
Once the substrate is fully colonized (white with mycelium), you’ll trigger fruiting by:
Lowering the temperature slightly.
Increasing humidity (85–95%).
Providing indirect light.
Improving air exchange.
This is when you’ll see mushrooms start to form.
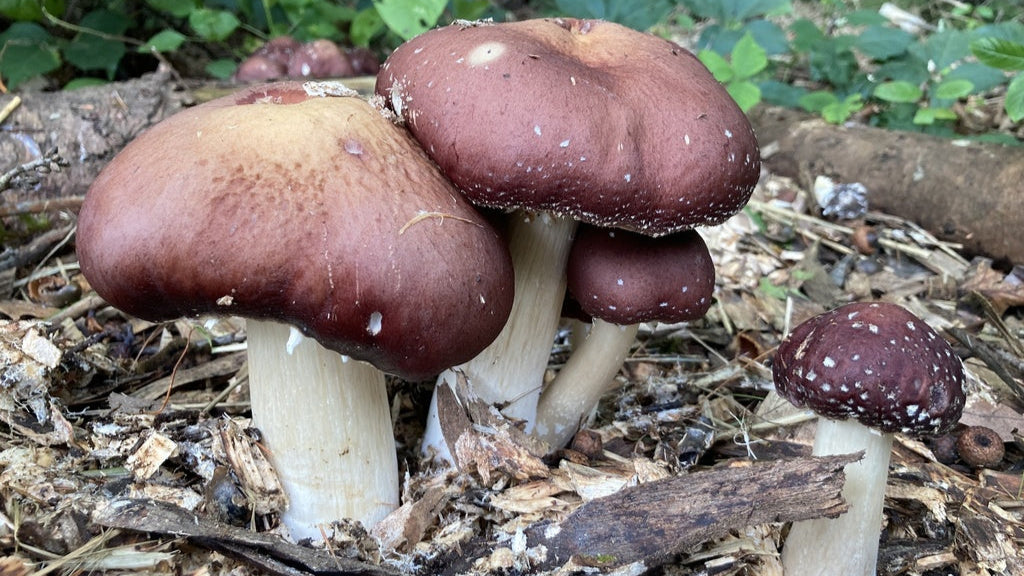
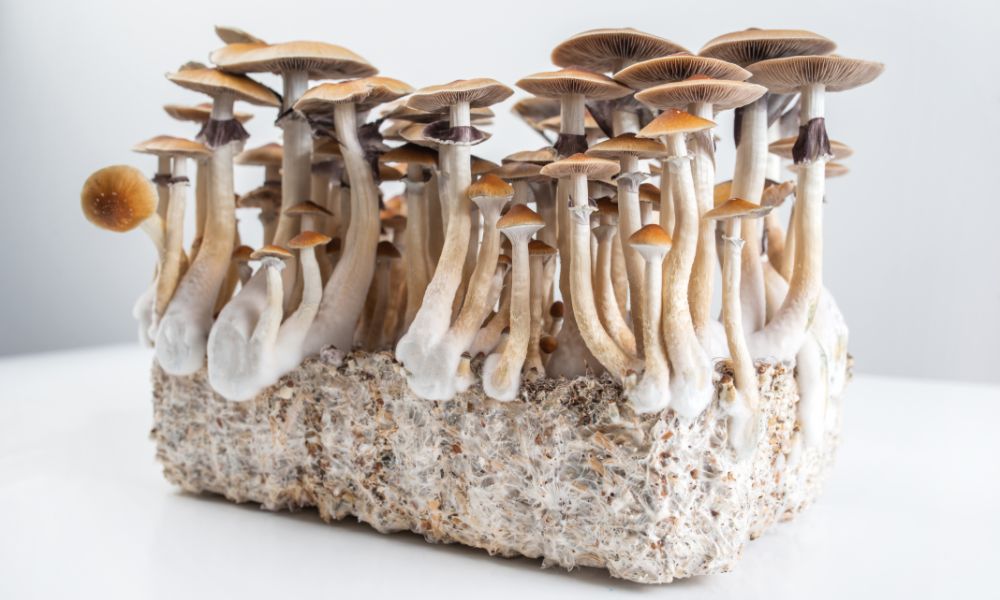
8. Harvesting
Harvest just before the caps fully flatten out.
Use a clean knife or twist gently to avoid damaging the substrate.
Some substrates will produce multiple flushes (harvest cycles).
9. Packaging and Selling (For Commercial Growers)
If selling your mushrooms:
Use breathable packaging to maintain freshness.
Explore farmers markets, restaurants, grocery stores, and CSA boxes.
Consider value-added products like dried mushrooms, mushroom jerky, or grow kits.
10. Maintenance and Scaling Up
Track your yields, monitor for contamination, and experiment with different varieties or substrates.
Once you’ve mastered small batches, you can expand into:
Additional grow rooms.
Automated climate control systems.
Partnerships with local distributors.
Starting a mushroom grow, whether in your home or a warehouse, is all about controlling the environment and maintaining cleanliness. With the right setup and a bit of patience, you can produce fresh, high-quality mushrooms year-round — and maybe even turn it into a thriving business.
RECENT POSTS